 Zhongshan Horns Metal Processing
How to Replace a Wheelie Bin Lid and Its Hinge Pins
To replace a bin lid, first empty the bin and remove the old hinge pins. Then line up the new lid with the hinge lugs on the body, push in matching pins and test that the lid opens and closes freely. In most cases, the pins fail before the lid does, so new pins often save the lid.
Key takeaways
- A bin lid usually hangs on hinge pins at the back of the bin, so check the pins first.
- Pin sizes and types differ between bin models, so match the pin to the bin before you order.
- Empty the bin and work on level ground before you start.
- Test the lid after every repair, because a loose lid can fall into the collection vehicle.
- Councils often repair lids and pins themselves, so residents should report a fault first.
How a Bin Lid Stays On
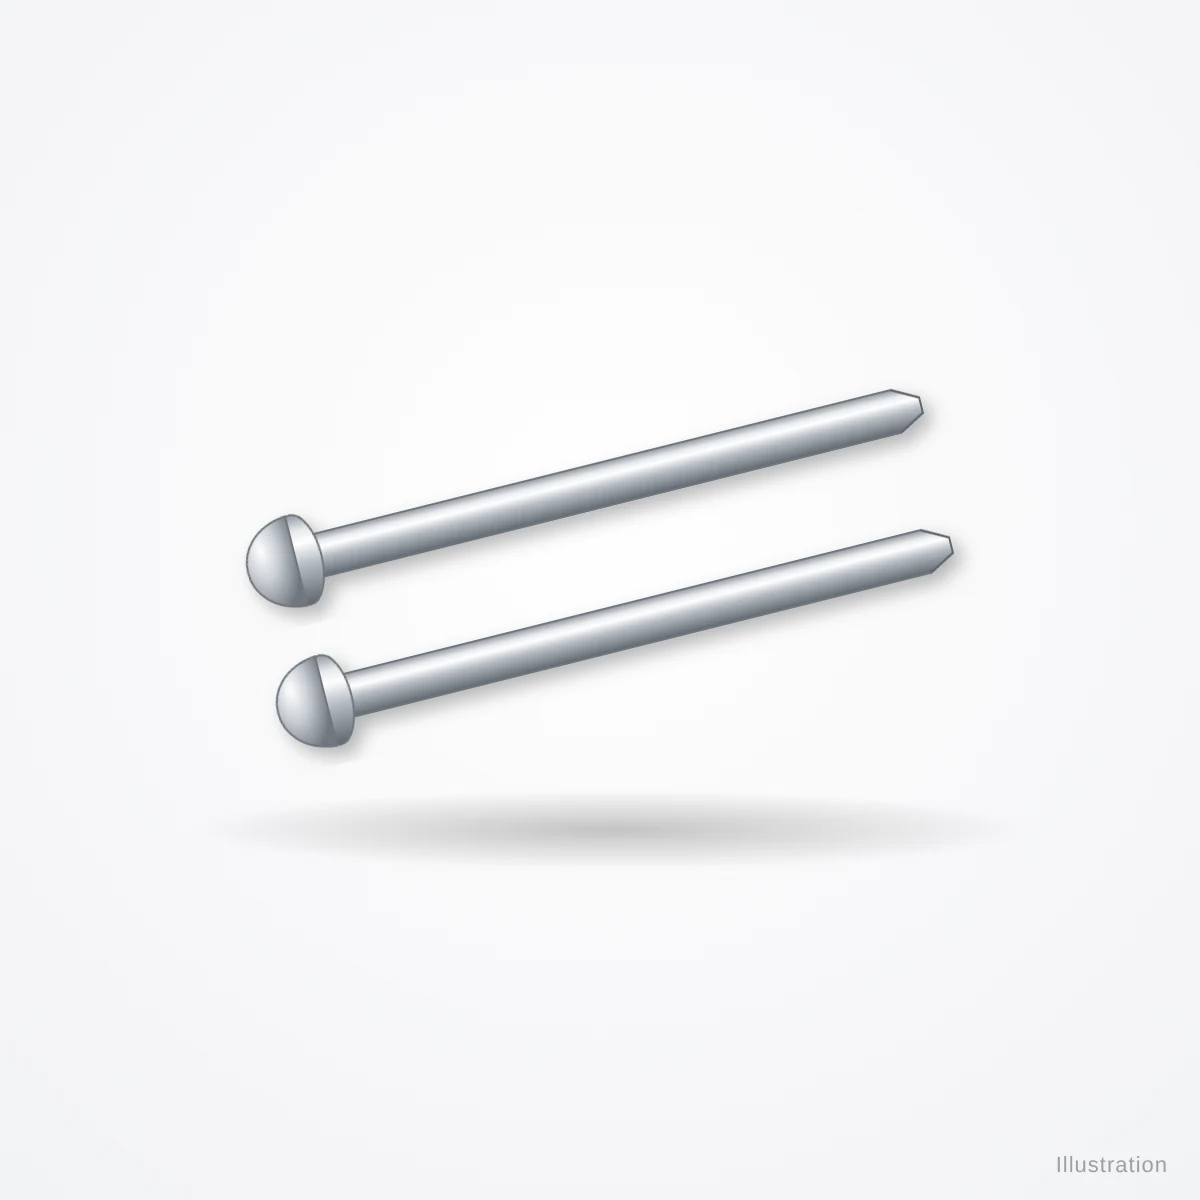
A wheelie bin's lid hinges at the back, next to the handle. Pins pass through loops on the lid and loops on the body, so the lid can swing open.
Harrow Council puts it simply: the pin is the hinge that joins the bin lid to the main body. So when a pin goes missing, the lid hangs crooked or drops off.
Pins are not all metal, either. For example, Ards and North Down Borough Council describes lids held on by plastic plugs that can loosen and fall out.
As a result, most lid repairs are pin repairs. The lid itself is often still in good shape.
Why a Bin Lid Fails
Every collection puts stress on the hinge. The lift tips the bin upside down, and the lid swings open with force.
In addition, overfilled bins push the lid up. Ards and North Down warns that overloading can damage the lid during the collection cycle.
Wind is another cause. A lid that blows open and slams shut, again and again, wears the hinge lugs and loosens the pins.
Finally, age plays a part. After years in sun and frost, plastic hinge lugs can crack, and then no pin will hold the lid.
Repair the Bin Lid or Replace the Bin?
First, look at where the damage is. If only the pins have gone, new pins solve the problem in minutes.
However, if the lid has split, you need a new lid. And if the hinge lugs on the body have broken, a new lid will not help.
Councils draw the same line. Walsall Council repairs damaged lids or wheels for free, but says you may need a new bin if the body is cracked or has a hole in it.
Similarly, Bracknell Forest Council repairs lids, wheels or hinge pins, while any other fault means a replacement bin.
| Fault | What you see | Usual fix |
|---|---|---|
| Missing pin | Lid hangs on one side | New hinge pin |
| Loose pin | Lid wobbles when opened | New pin, matched size |
| Split lid | Crack across the lid | New bin lid |
| Broken lug on lid | Pin has nothing to hold | New bin lid |
| Broken lug on body | Lid cannot be fixed on | New bin |
Who Should Repair a Bin Lid
Councils own most household bins. So residents should report a broken lid before they try a repair.
Many councils fix lids at no cost. Harrow repairs lids and pins for free, and the City of Casey asks residents to say which part has failed, such as the lid or the lid hinge pins.
Some councils charge, though. For example, Wirral Council lists a charge of £14.35 for any bin repair from 1 April 2025.
In fact, some councils advise residents not to repair bins at all. Brisbane City Council says it does not recommend making repairs to your own wheelie bins.
So this guide is mainly for council fleet teams and contractors, who repair bins as part of their job.
Tools and Parts for Bin Lid Repair
The job needs only a few tools. Even so, the right parts matter more than the tools.
- Replacement hinge pins that match the bin model.
- A new bin lid, if the old one has split or lost a lug.
- Also, a flat screwdriver or a pin punch to push out old pins.
- A rubber mallet, so you can tap pins home without cracking plastic.
- Finally, gloves, since bins are rarely clean.
Our wheelie bin hinge pins are matched to the bin model or a sample, because sizes differ between makers.
Match the Pin Before You Order
Hinge pins differ from bin to bin. Erewash Borough Council notes that there are different sizes and types of bins, and that a photo of the other pin helps.
So start with the pin that is still in place. Measure its length and diameter, and note whether it is metal or plastic.
Next, record the bin model and the maker's name, which you can often find moulded on the body. Then send both to your supplier.
As a result, the first batch of pins fits, and crews do not waste a visit.
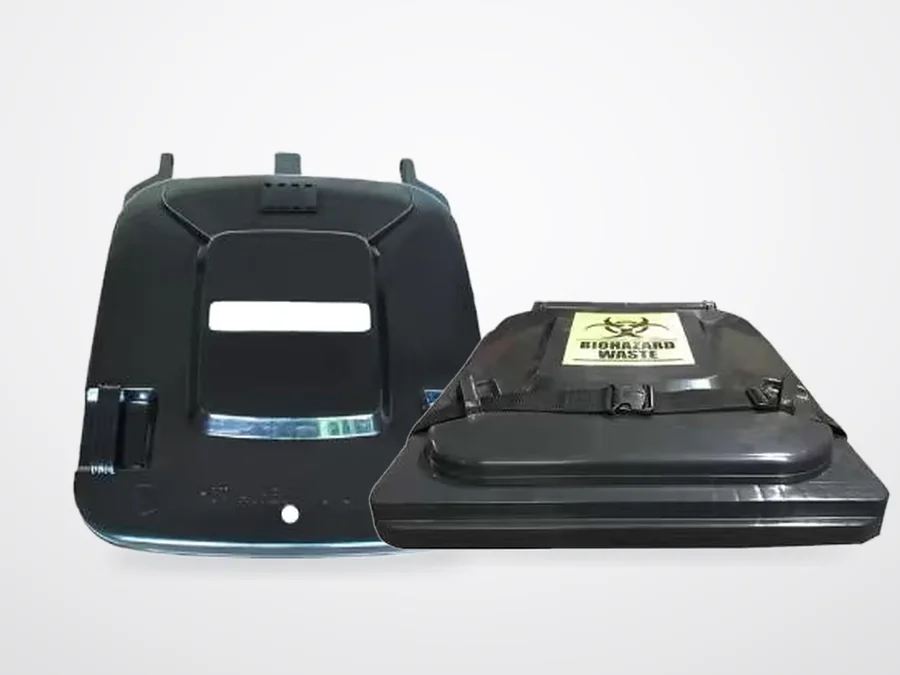
Step by Step: Replace a Bin Lid
1. Empty the Bin and Set It Up
First, empty the bin and stand it on level ground. A full bin is heavy and can tip while you work.
Then open the lid fully, so you can reach both hinges. If the lid is loose, hold it in place with one hand while you work.
2. Remove the Old Pins
Next, push the old pins out from one side with a screwdriver or a pin punch. If a pin has seized, tap the punch gently with a rubber mallet.
Keep any pin that comes out whole. You can use it to check the size of the new ones.
3. Check the Hinge Lugs
Now look closely at the loops on the body and on the lid. A cracked or worn loop will not hold a new pin for long.
If a loop on the lid has broken, fit a new lid. However, if a loop on the body has broken, the bin itself needs replacing.
4. Line Up the Bin Lid
Then set the lid on the bin and line up its loops with the loops on the body. Look through the holes to check that they sit in a straight line.
If the lid will not line up, check that it is the right lid for the bin model. Even similar bins can place their hinges differently.
5. Fit the New Pins
Next, push each new pin through the loops by hand. Then tap it home with a rubber mallet until it sits flush.
Avoid a steel hammer, because it can crack the plastic. Also, do not force a pin that will not go in, since the wrong size can split a loop.
6. Test the Bin Lid
Finally, open and close the lid several times. It should swing freely and close fully without catching.
This test matters at the kerb. Ards and North Down notes that if a crew does not spot a faulty lid before lifting, the lid can drop into the vehicle.
So check that each pin sits tight and does not slide out when you push on it. Then close the lid and move on to the next bin.
Upgrade the Bin Lid While You Are There
A repair visit is a good moment to fit an upgrade. For example, a new lid or a strap can solve a problem that keeps coming back.
- In windy streets, a lid secured belt holds the lid shut on 120, 240 and 360 litre bins.
- For recycling, a lid with an opening for bottles and cans fits 120 and 240 litre bins.
- For offices and clinics, a paper slit lid takes confidential paper, while the lock itself is not included.
- Where scavenging is a problem, a metal bin lock keeps the lid closed at the kerb.
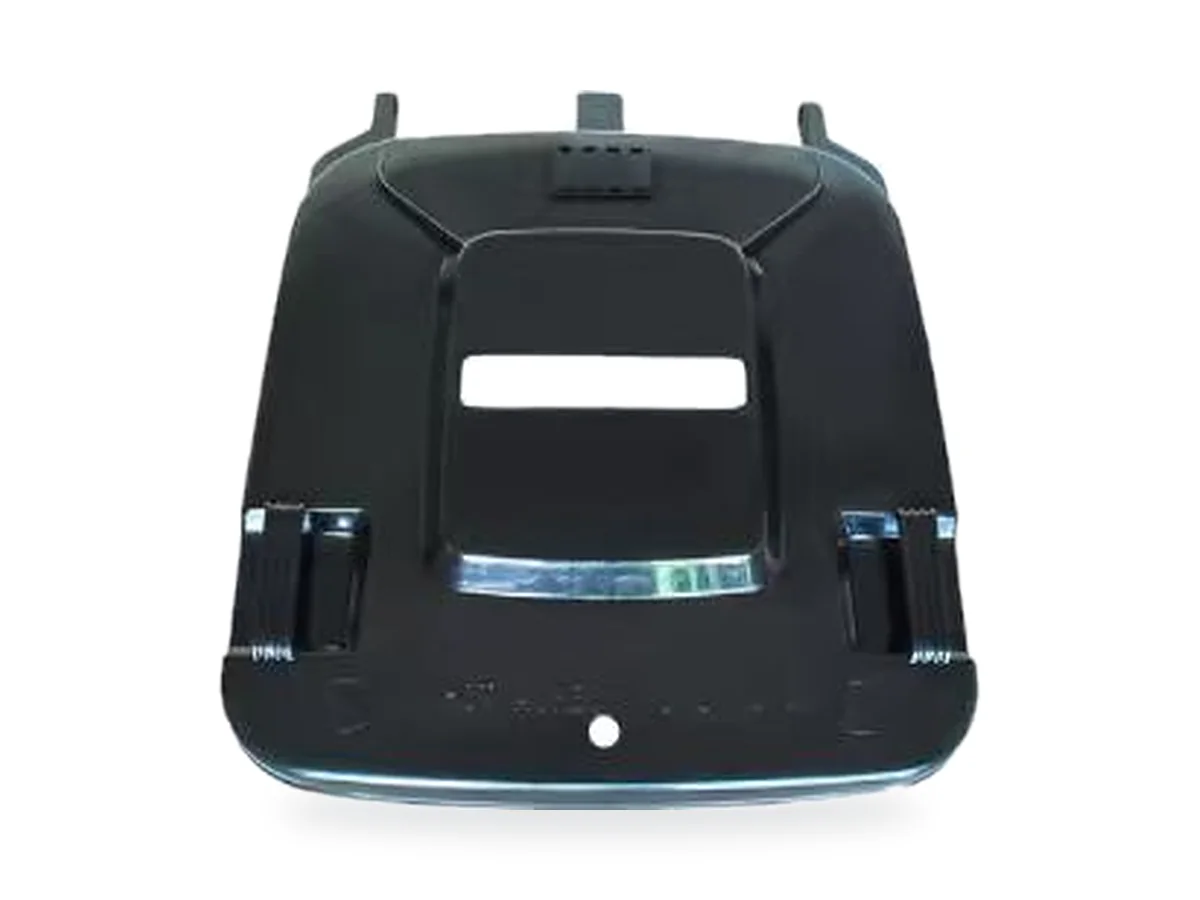
Common Mistakes to Avoid
First, do not guess the pin size. A pin that is too thin lets the lid rock, while a pin that is too thick can split a loop.
Second, do not reuse a bent pin. It may look fine at first, but it will work loose again after a few collections.
Third, do not fit a lid from a different bin model. Even when it seems to sit well, the hinge may bind when the lift tips the bin.
Also, avoid glue or wire as a long-term fix. Tape or string can hold a loose lid for a few days, as Harrow suggests while residents wait for a repair, but crews should fit proper pins as soon as they can.
Finally, write down what you fitted. Then the next crew knows which pins that street needs.
Keep Crews Safe During Bin Lid Repairs
Lid repairs look small, but crews still move and tip heavy bins. So plan the work with handling in mind.
HSE's guidance on pushing and pulling explains the main risk factors, and its RAPP tool helps employers assess tasks with wheeled loads.
In practice, empty the bin first, work at a comfortable height and ask for help with large containers. Also wear gloves and eye protection when you tap pins out.
Bin Lid Repairs at the Kerb or the Depot
Some councils repair lids on the spot. For example, Chesterfield says that if a crew cannot repair a bin on the spot, it leaves a replacement and takes the broken bin away.
Chesterfield Borough Council also puts depot-repaired bins back into stock. As a result, the old body stays in use.
Pins suit kerbside work, since a crew can carry a bag of them. In contrast, new lids take more space, so many teams fit them at the depot.
Either way, record the fault. North East Lincolnshire Council lists a missing lid, a split lid and missing lid pins among the issues it can repair, and records like these show which faults come up most.
Bin Lid Standards and Fit
Two-wheel bins in Europe follow EN 840-1, which covers containers up to 400 litres for comb lifting devices.
The standard sets the key dimensions that let a bin fit the lift. However, details such as hinge position and pin size still vary between makers.
So always match a new lid to the bin model. For sizes and capacities, see our guide to wheelie bin sizes.
Plan Spares for Bin Lid Repairs
A small stock of spares turns a call-out into a quick fix. So keep the parts that fail most often close to the crews.
- Hinge pins for each bin model in the fleet.
- Also, a few lids in each colour your council uses.
- Lid straps for streets that see strong wind.
- Finally, labels on every box, so crews grab the right pins.
For a full service plan, read our bin maintenance checklist. It covers lids along with wheels, axles, castors and locks.
Key Terms Explained
- Hinge pin
- The pin that joins the lid to the bin body. Some bins use metal pins, while others use plastic plugs.
- Hinge lug
- A loop moulded on the lid or the body that the pin passes through.
- Lid secured belt
- A strap that holds a lid shut in high winds or on clinical waste bins.
- Comb lift
- The lifting device on a collection vehicle that grips the front rim of a two-wheel bin.
- Paper slit lid
- A lid with a slot for confidential paper and a provision for a latch lock.
Bin Lid Repair: Questions and Answers
Can you replace just the lid on a wheelie bin?
Yes. In most cases, the lid hangs on hinge pins, so you can fit a new lid to the old body. However, the lid must match the bin model, because hinge positions differ between makers.
Why does a bin lid fall off?
Usually a hinge pin has worked loose or broken. Also, overloading can damage a lid during collection, according to Ards and North Down Borough Council.
Should residents fix council bins themselves?
Not usually. Councils own most household bins, and many repair lids and pins for free. So report the fault first and follow the council's advice.
Are all hinge pins the same size?
No. Erewash Borough Council notes that bins come in different sizes and types, so a photo of the remaining pin helps match the right one.
Sources
- HSE: Pushing and pulling loads: overview
- Harrow Council: Request a bin repair: lids and hinge pins
- Erewash Borough Council: Request a repair: missing lid or lid pin
- Chesterfield Borough Council: Damaged or missing bins
- Bracknell Forest Council: Request a bin repair
- Wirral Council: Report a damaged bin
- Ards and North Down Borough Council: Replacement of damaged and faulty wheeled bins
- North East Lincolnshire Council: Repair or replace your bins
- Brisbane City Council: Bin replacement, repair or collection
- City of Casey: Report a bin problem
- Walsall Council: Request a bin repair
- iTeh Standards: EN 840-1:2020, 2-wheel containers up to 400 l
- HSE: Risk assessment of pushing and pulling (RAPP) tool, INDG478
Product sizes are typical; we confirm each order against your drawing or sample. Our editorial standards explain how we check facts and fix mistakes.